Home / Plugins / Miscellaneous
Events Plugin For WarpKnot CMSEvents Plugin For WarpKnot CMS
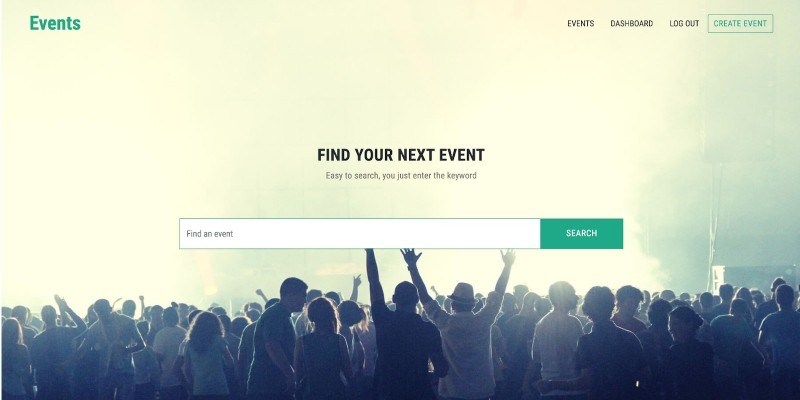
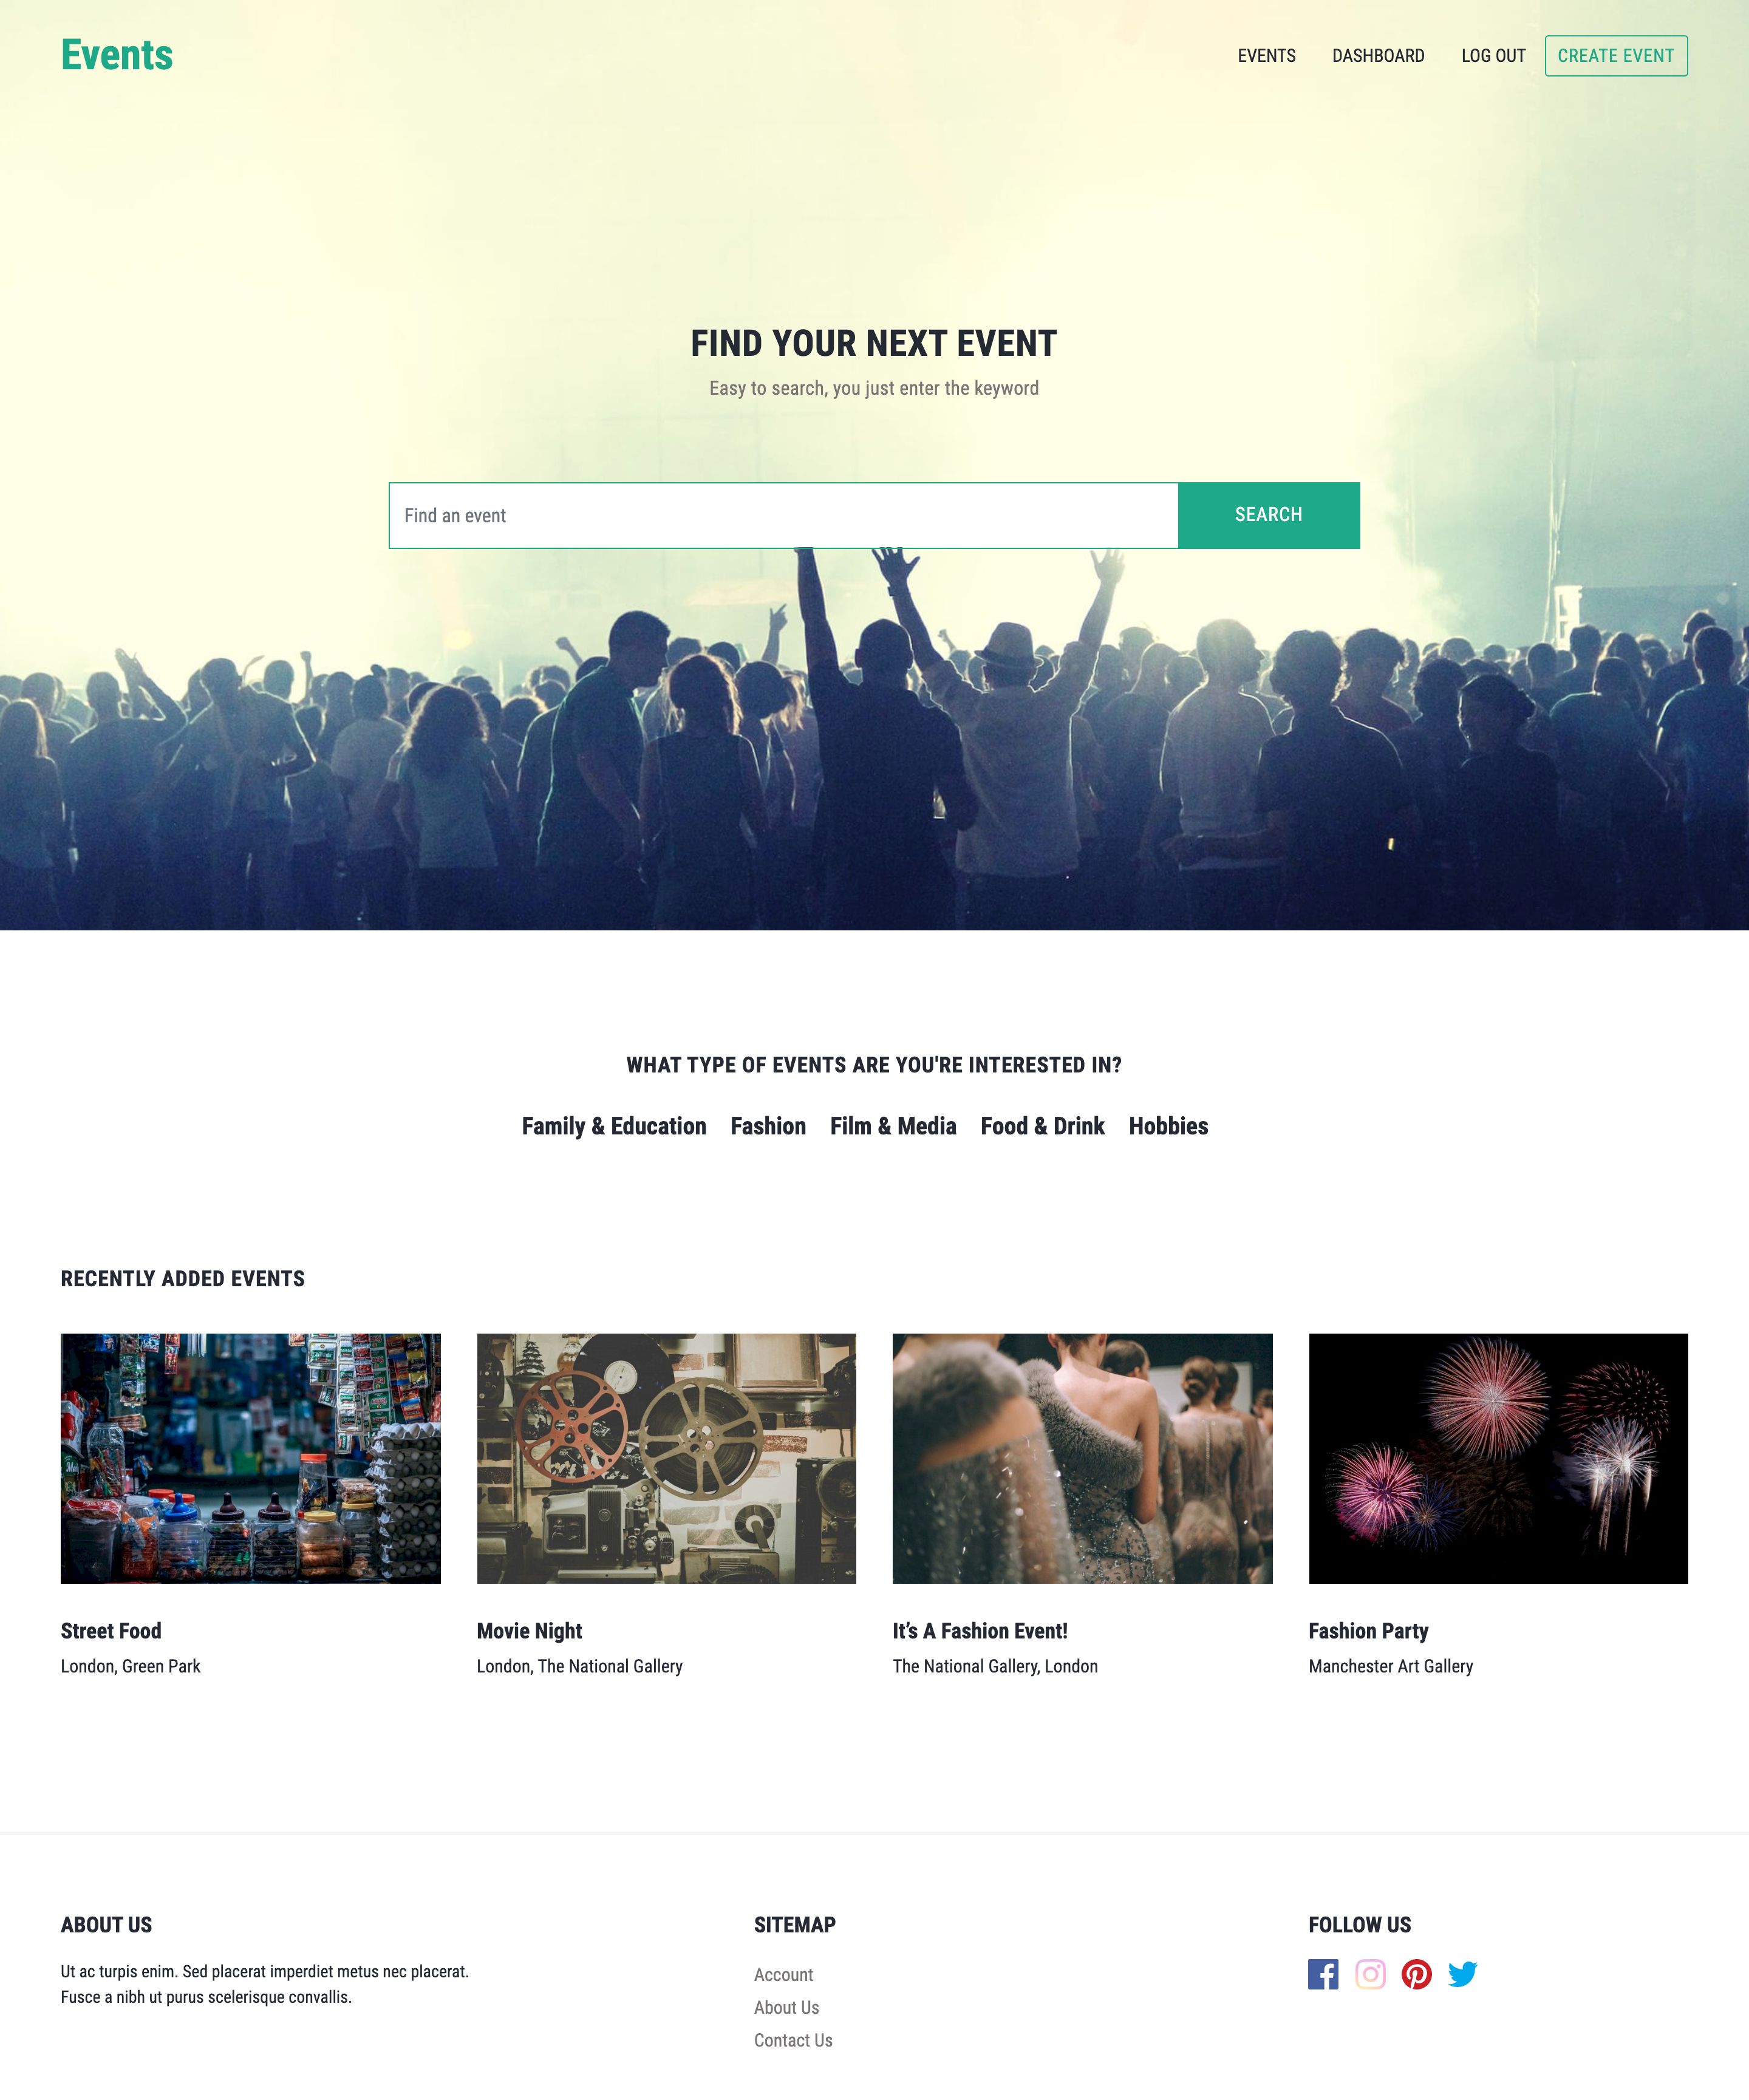
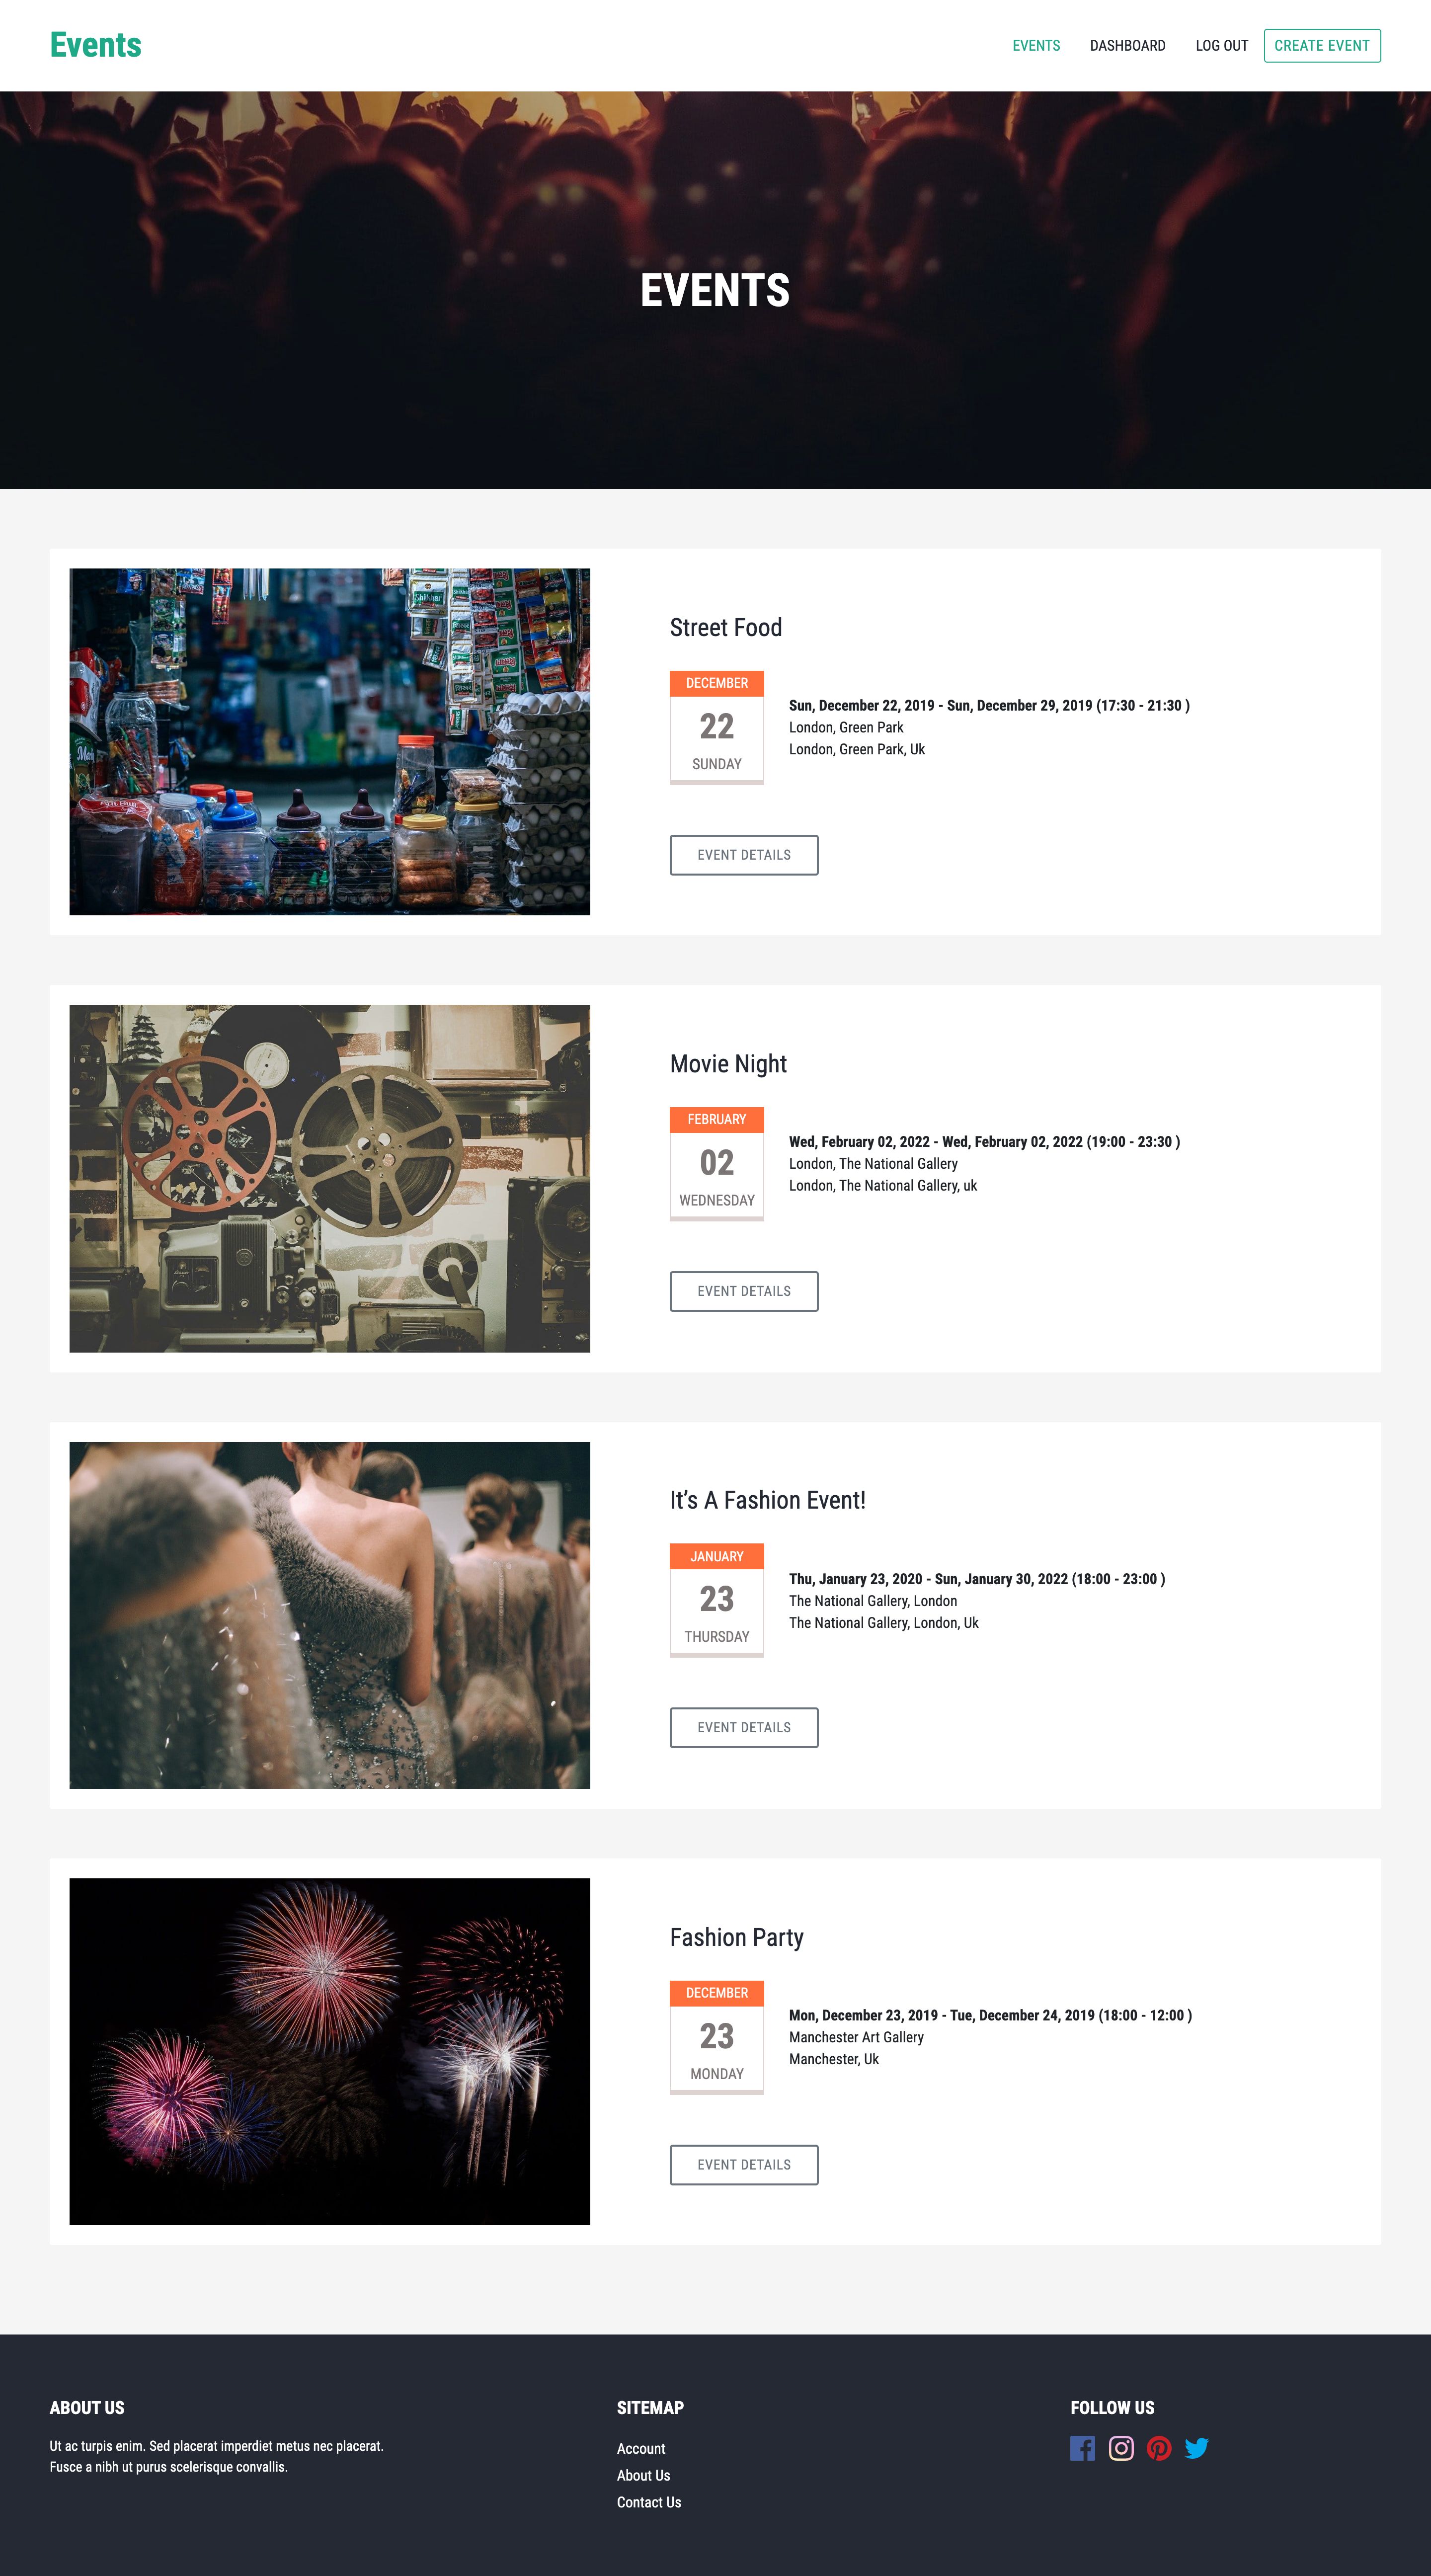
Create your own Events Sharing Platform in just a few minutes. Average rating of 5.0 based on 1 votes
Home / Plugins / Miscellaneous
Events Plugin For WarpKnot CMS
Create your own Events Sharing Platform in just a few minutes.
Average rating of 5.0
×
This item is temporarily not available for sale
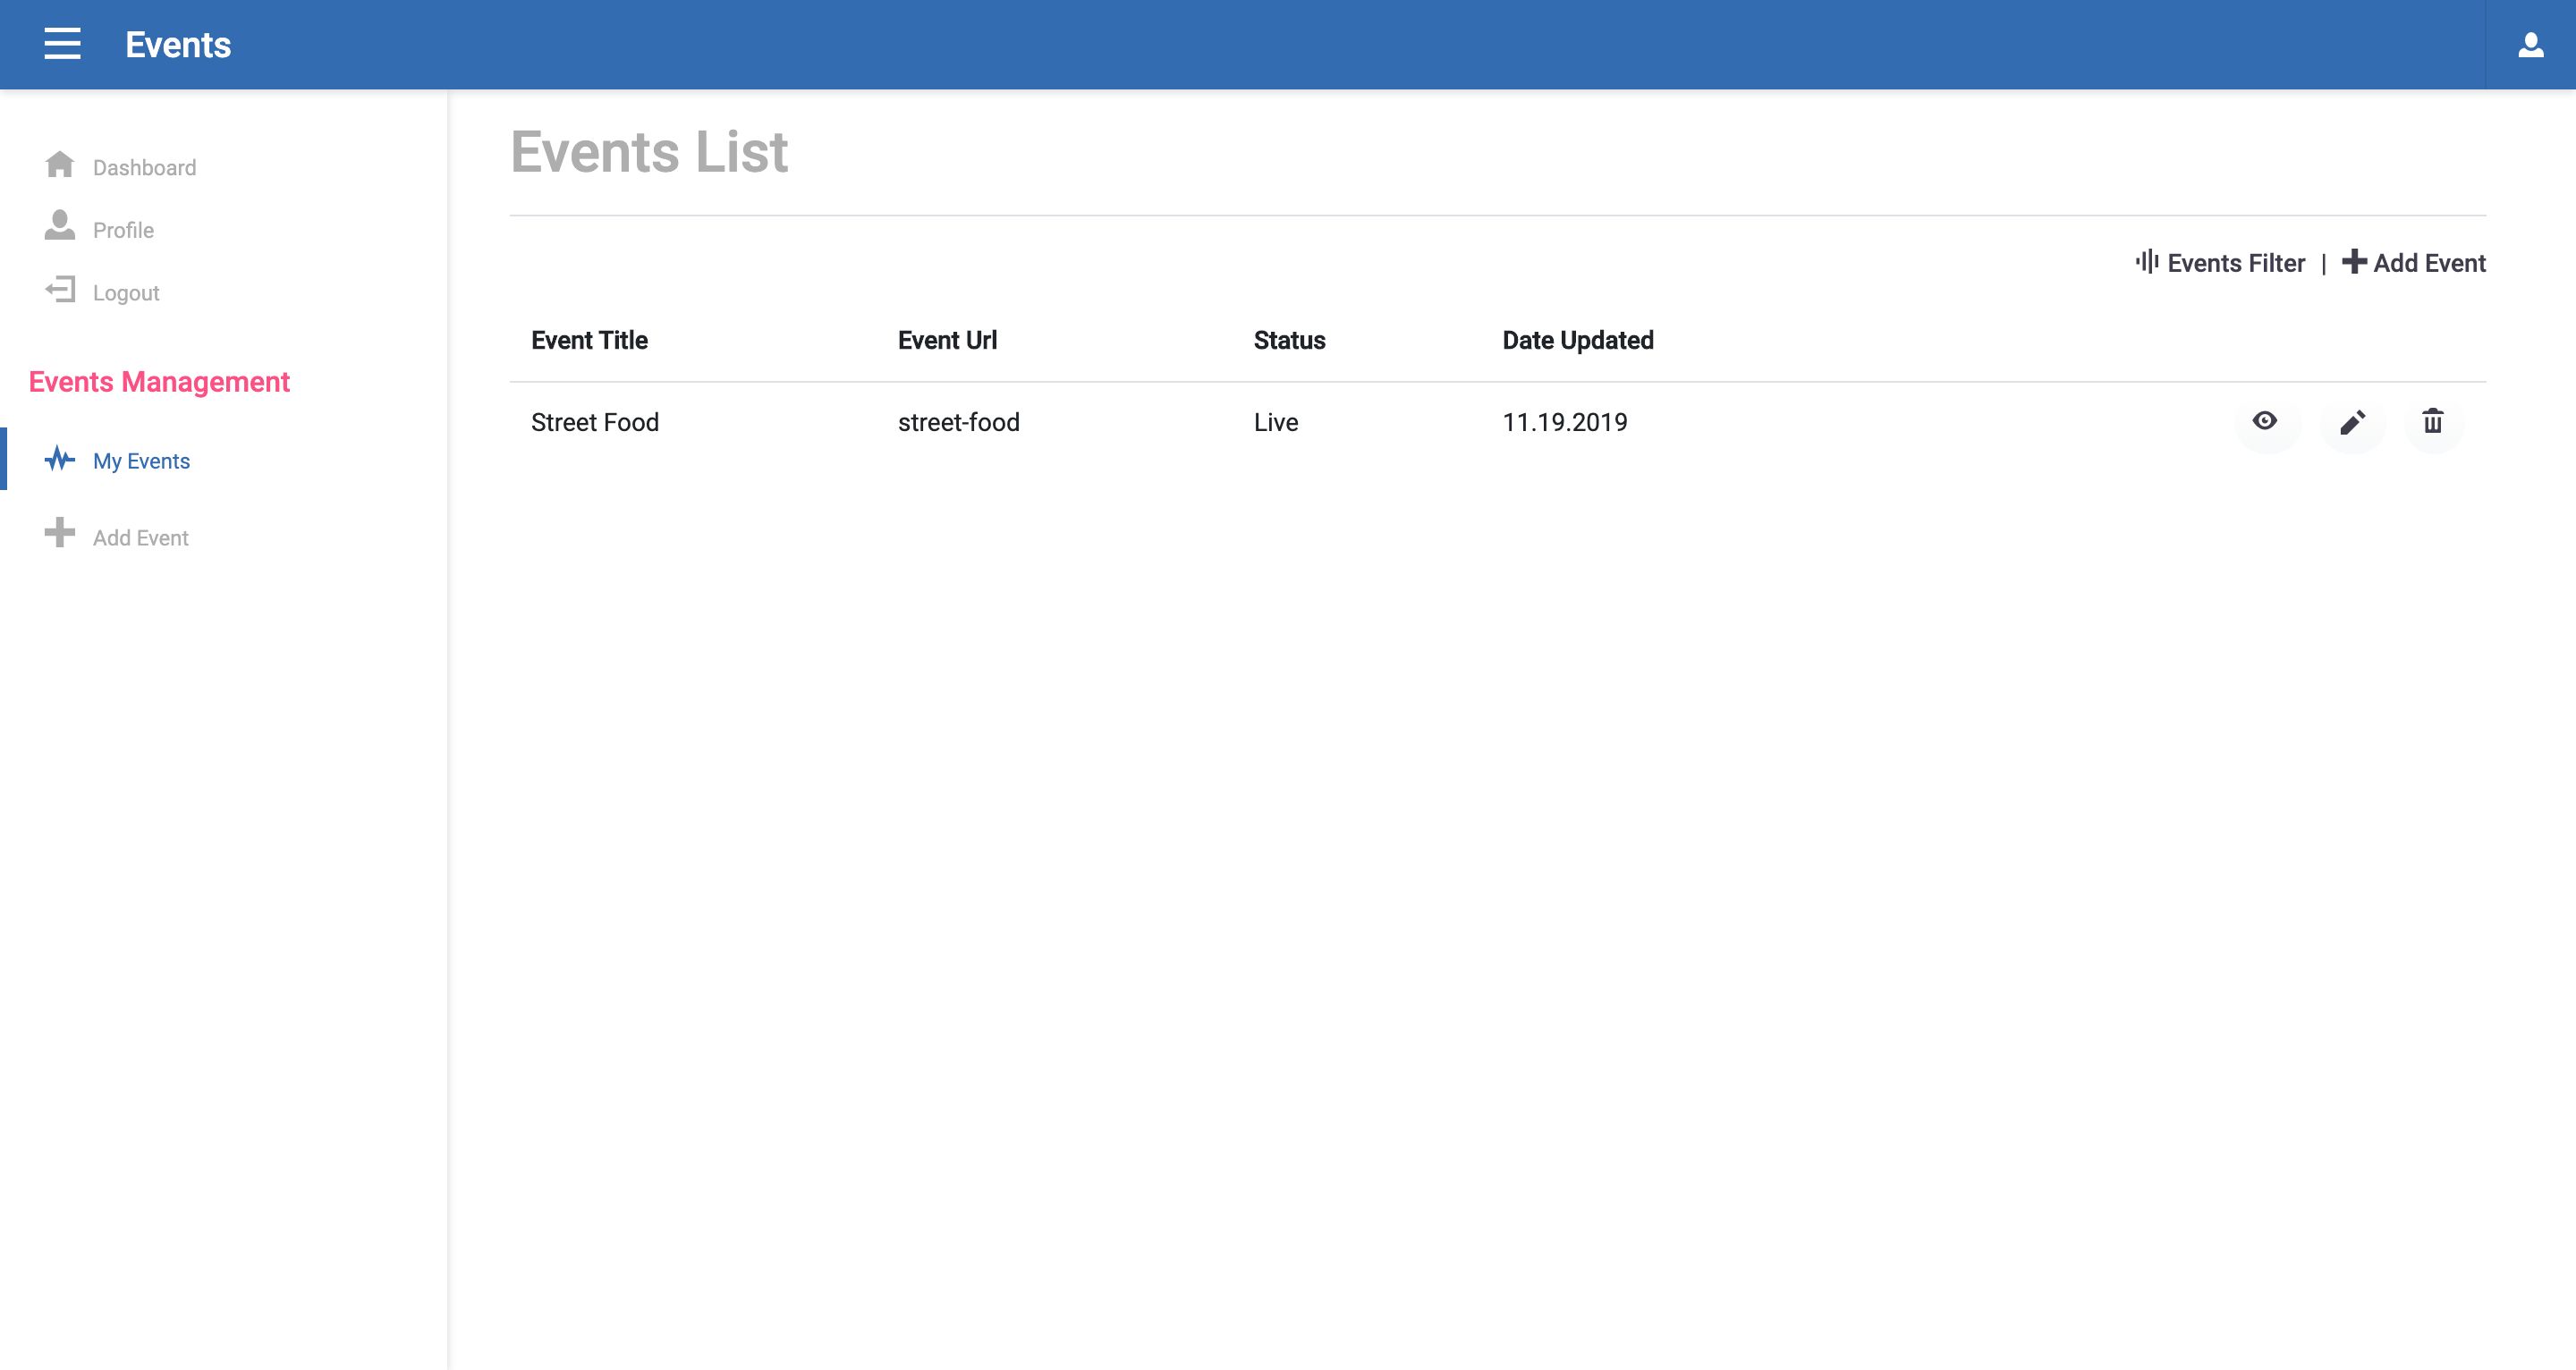
Screenshots


Overview
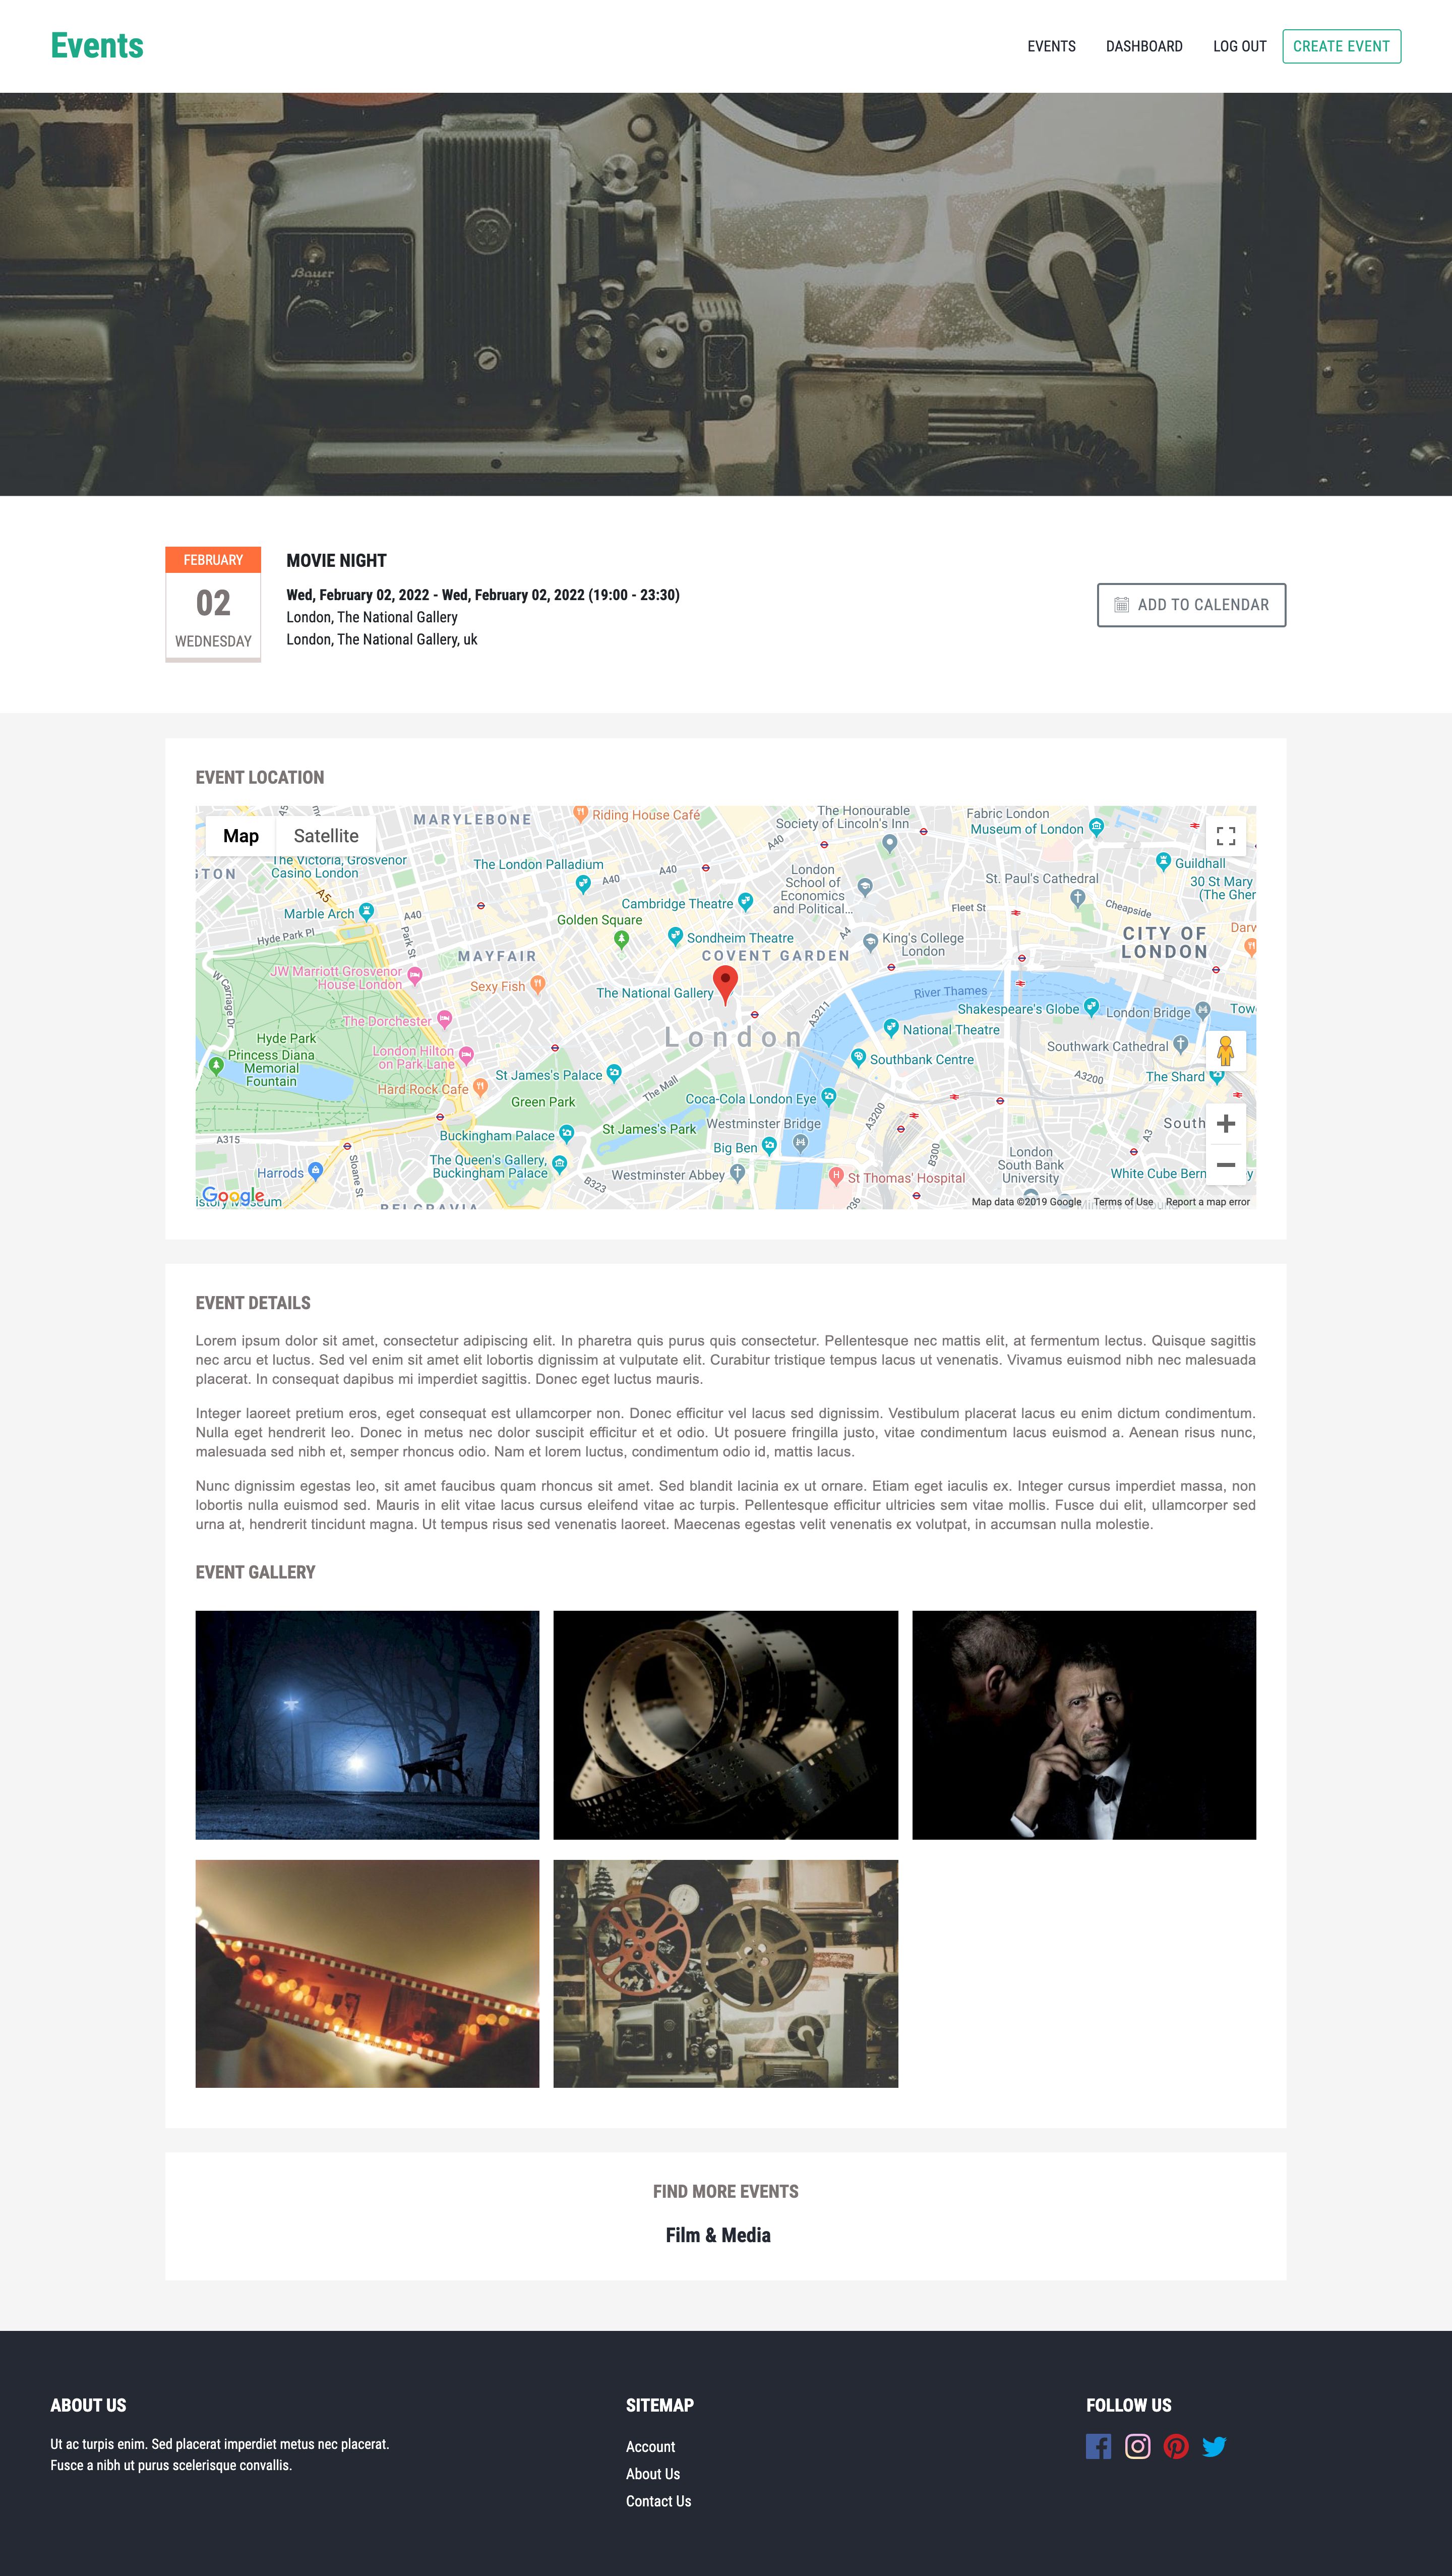
Create your own Events Sharing Platform in just a few minutes.
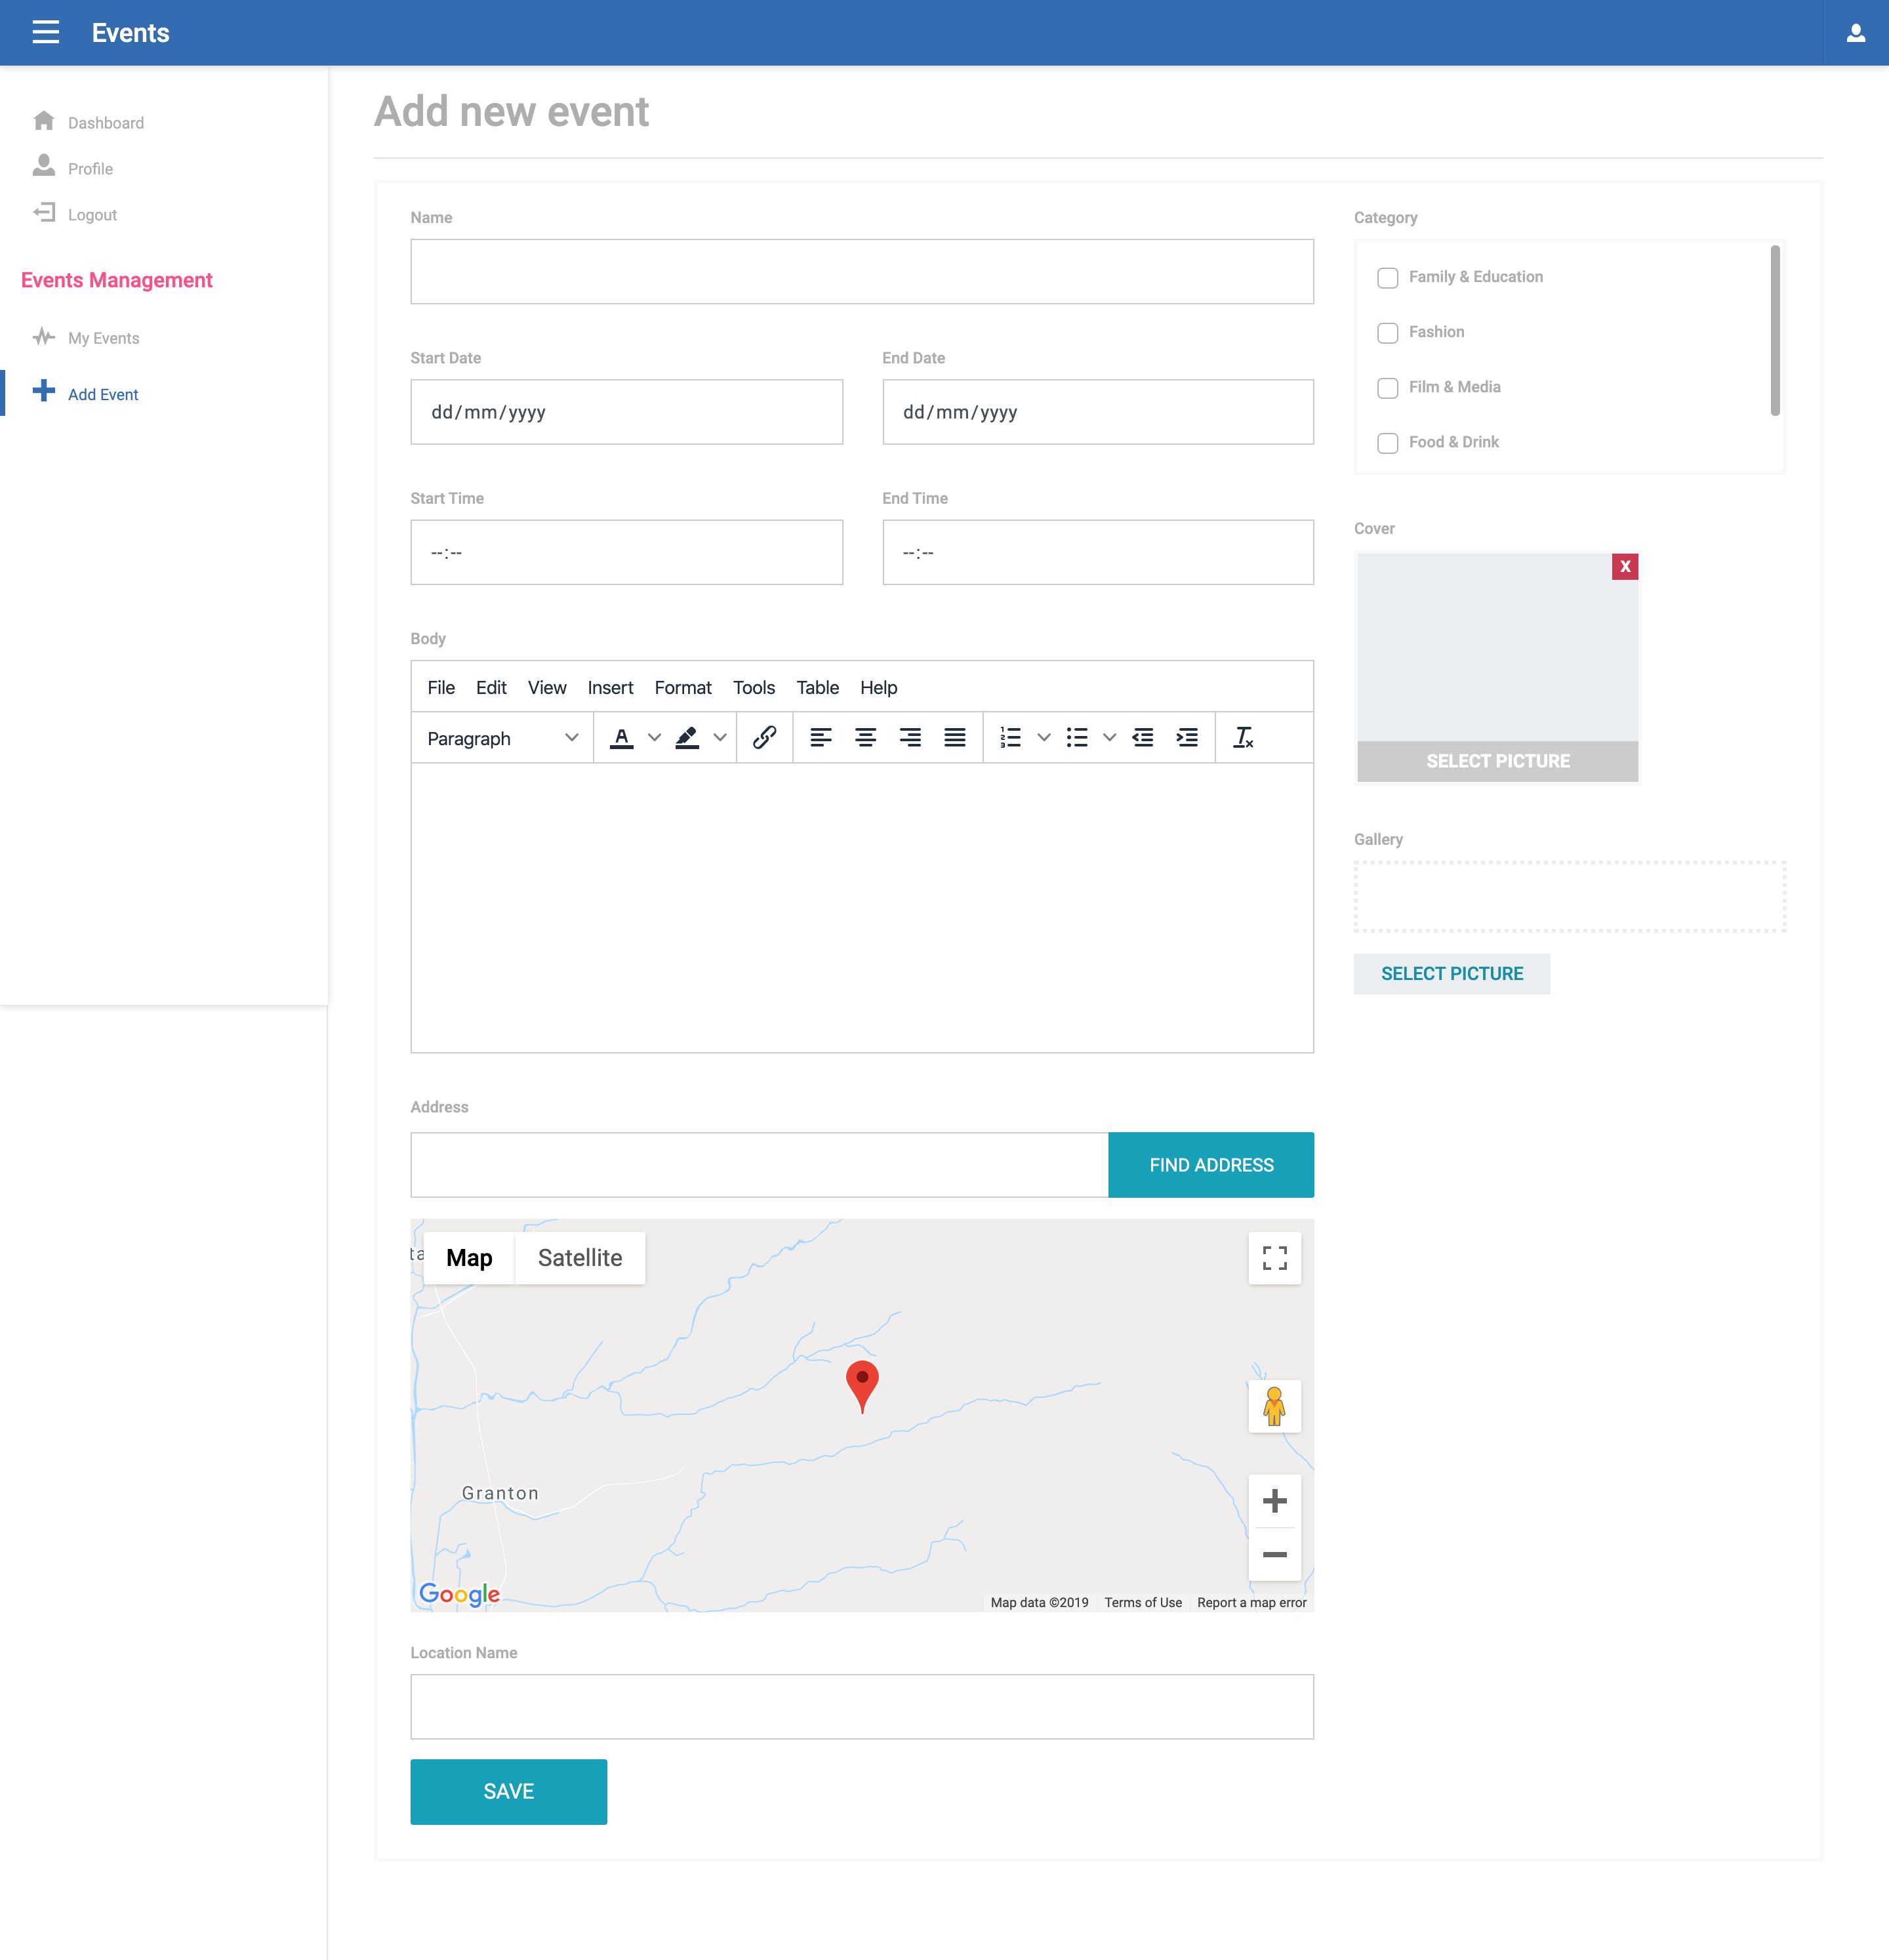
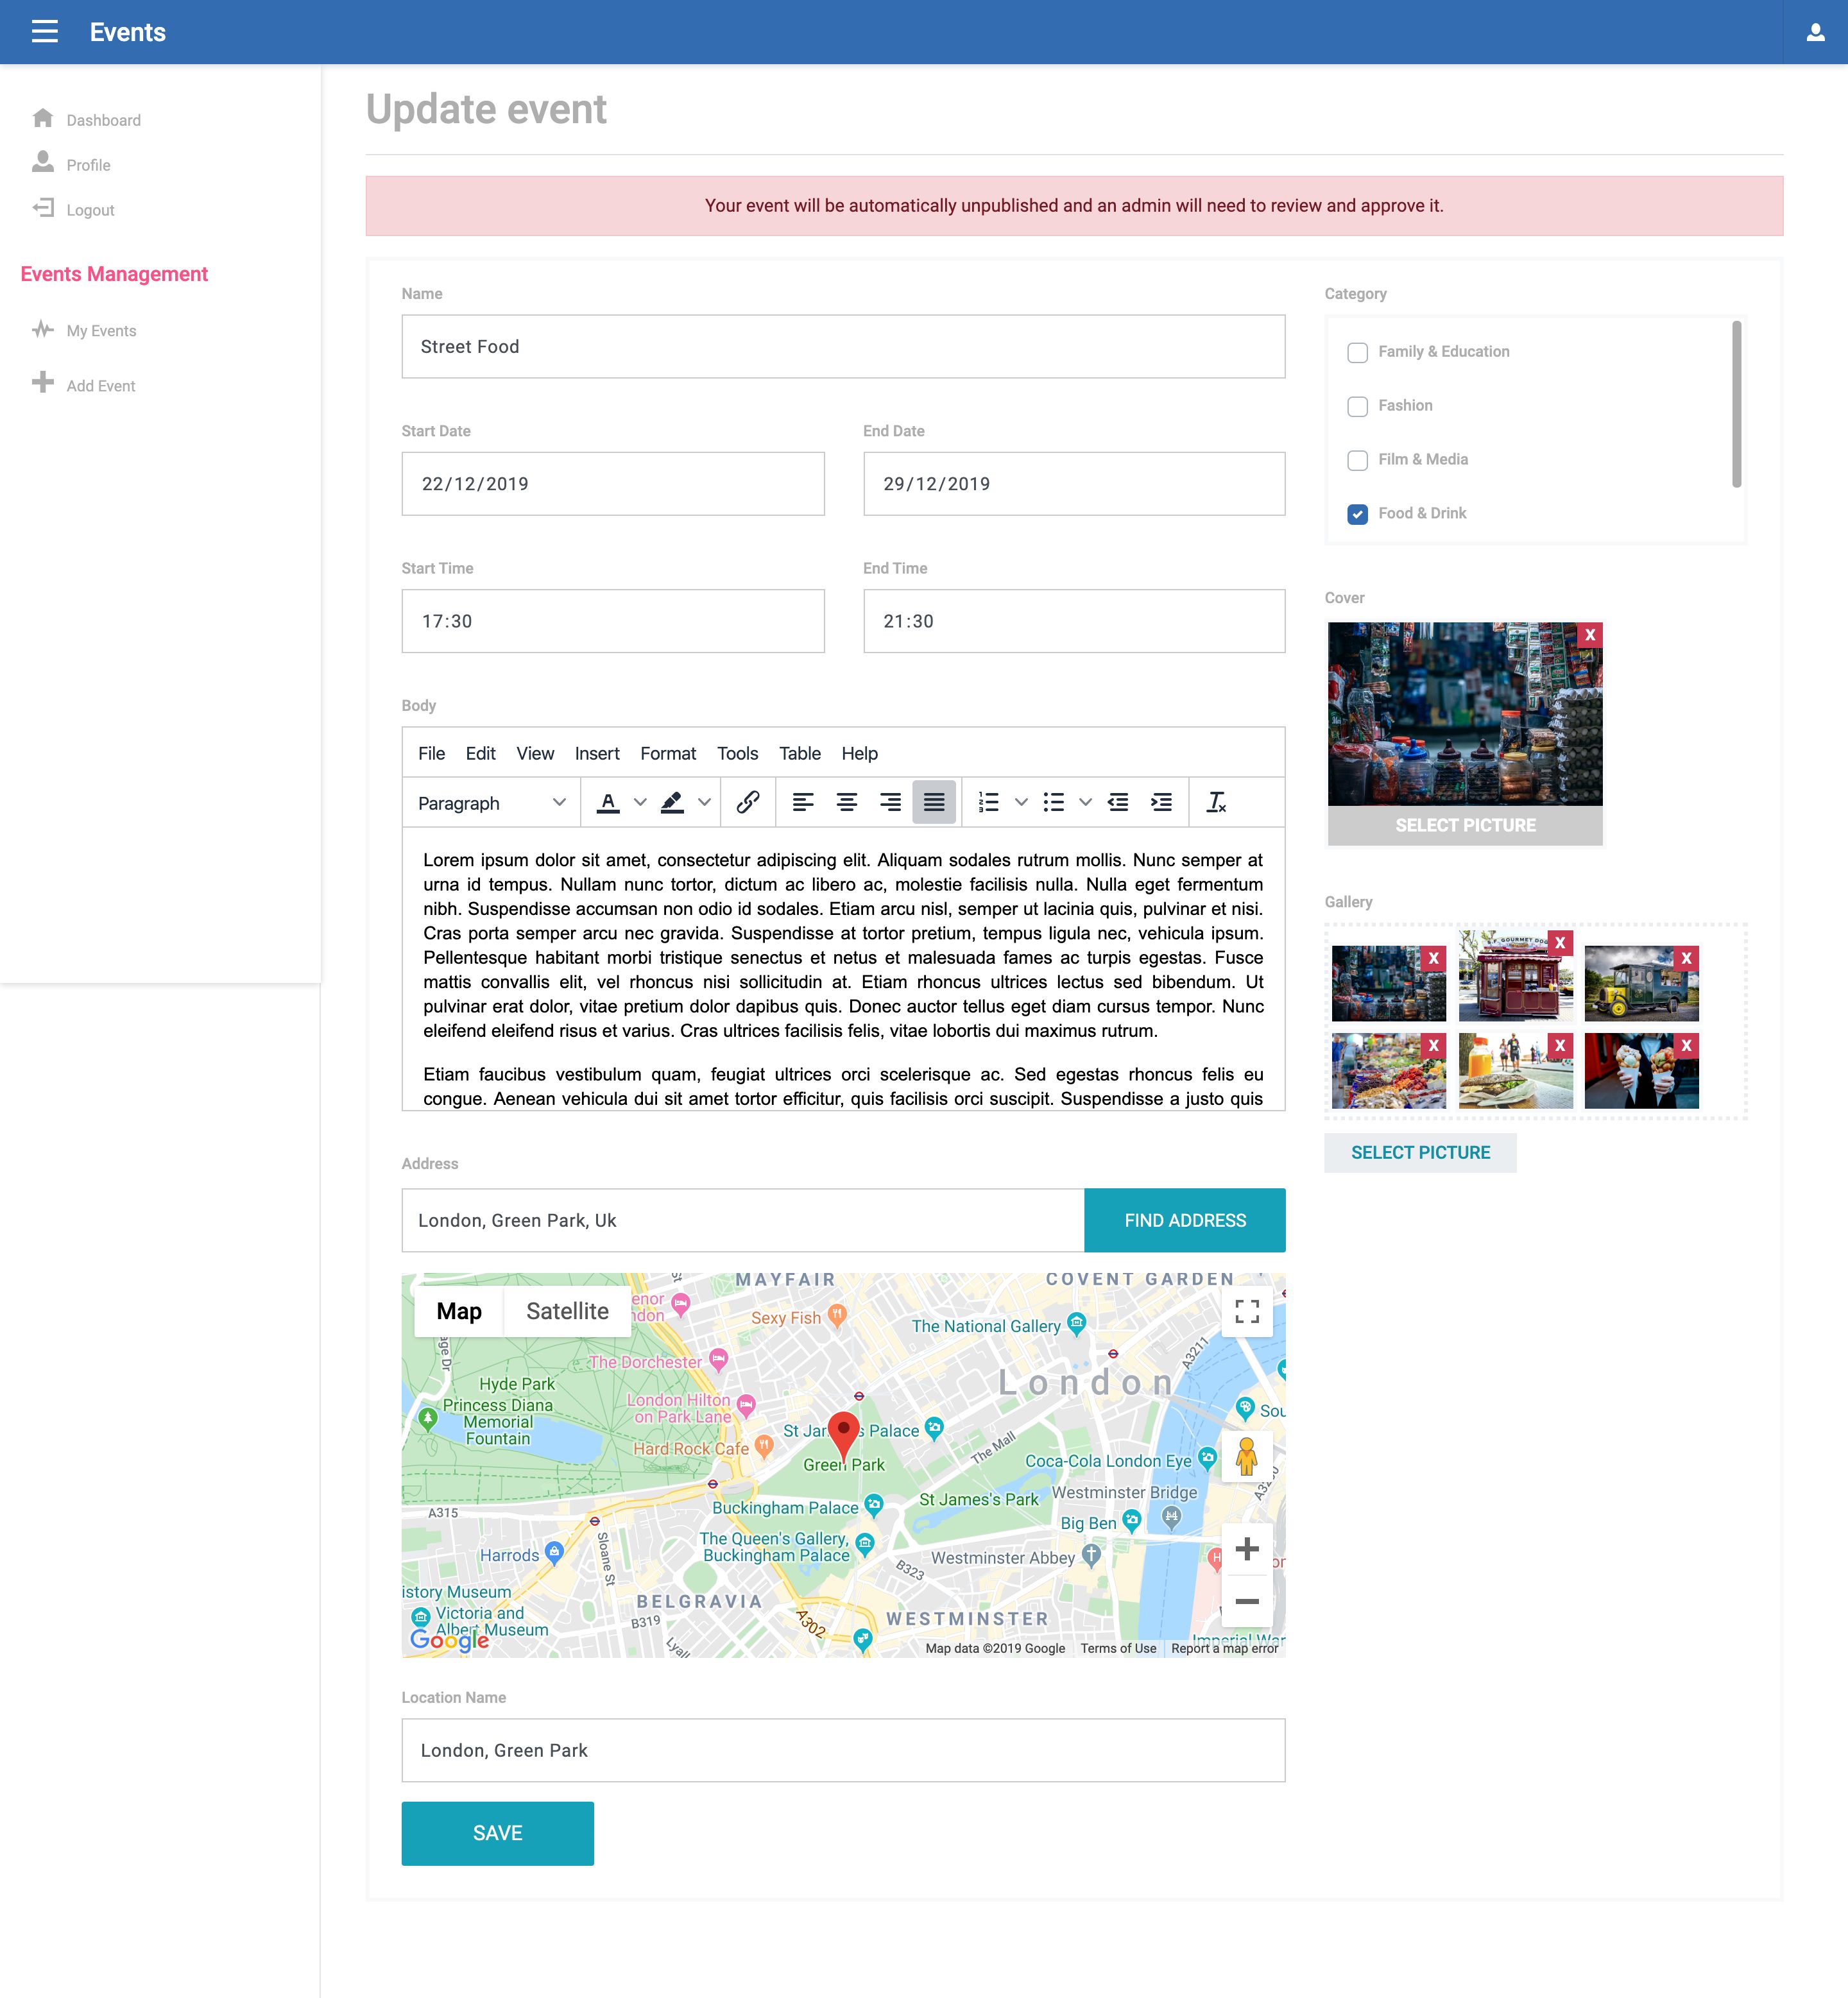
This platform comes with features that include creating an event, adding descriptions, location map with address, and creating a stunning image gallery to tie it all together.
Whether it is a new year’s party, a street food event or a movie premiere, your Events Platform will help get the word out there and offer a stylish presentation.
Demo
https://events.wkntcms.com/
Admin Demo
- https://admin.events.wkntcms.com/user/login
- username: admin
- password: admin
Features
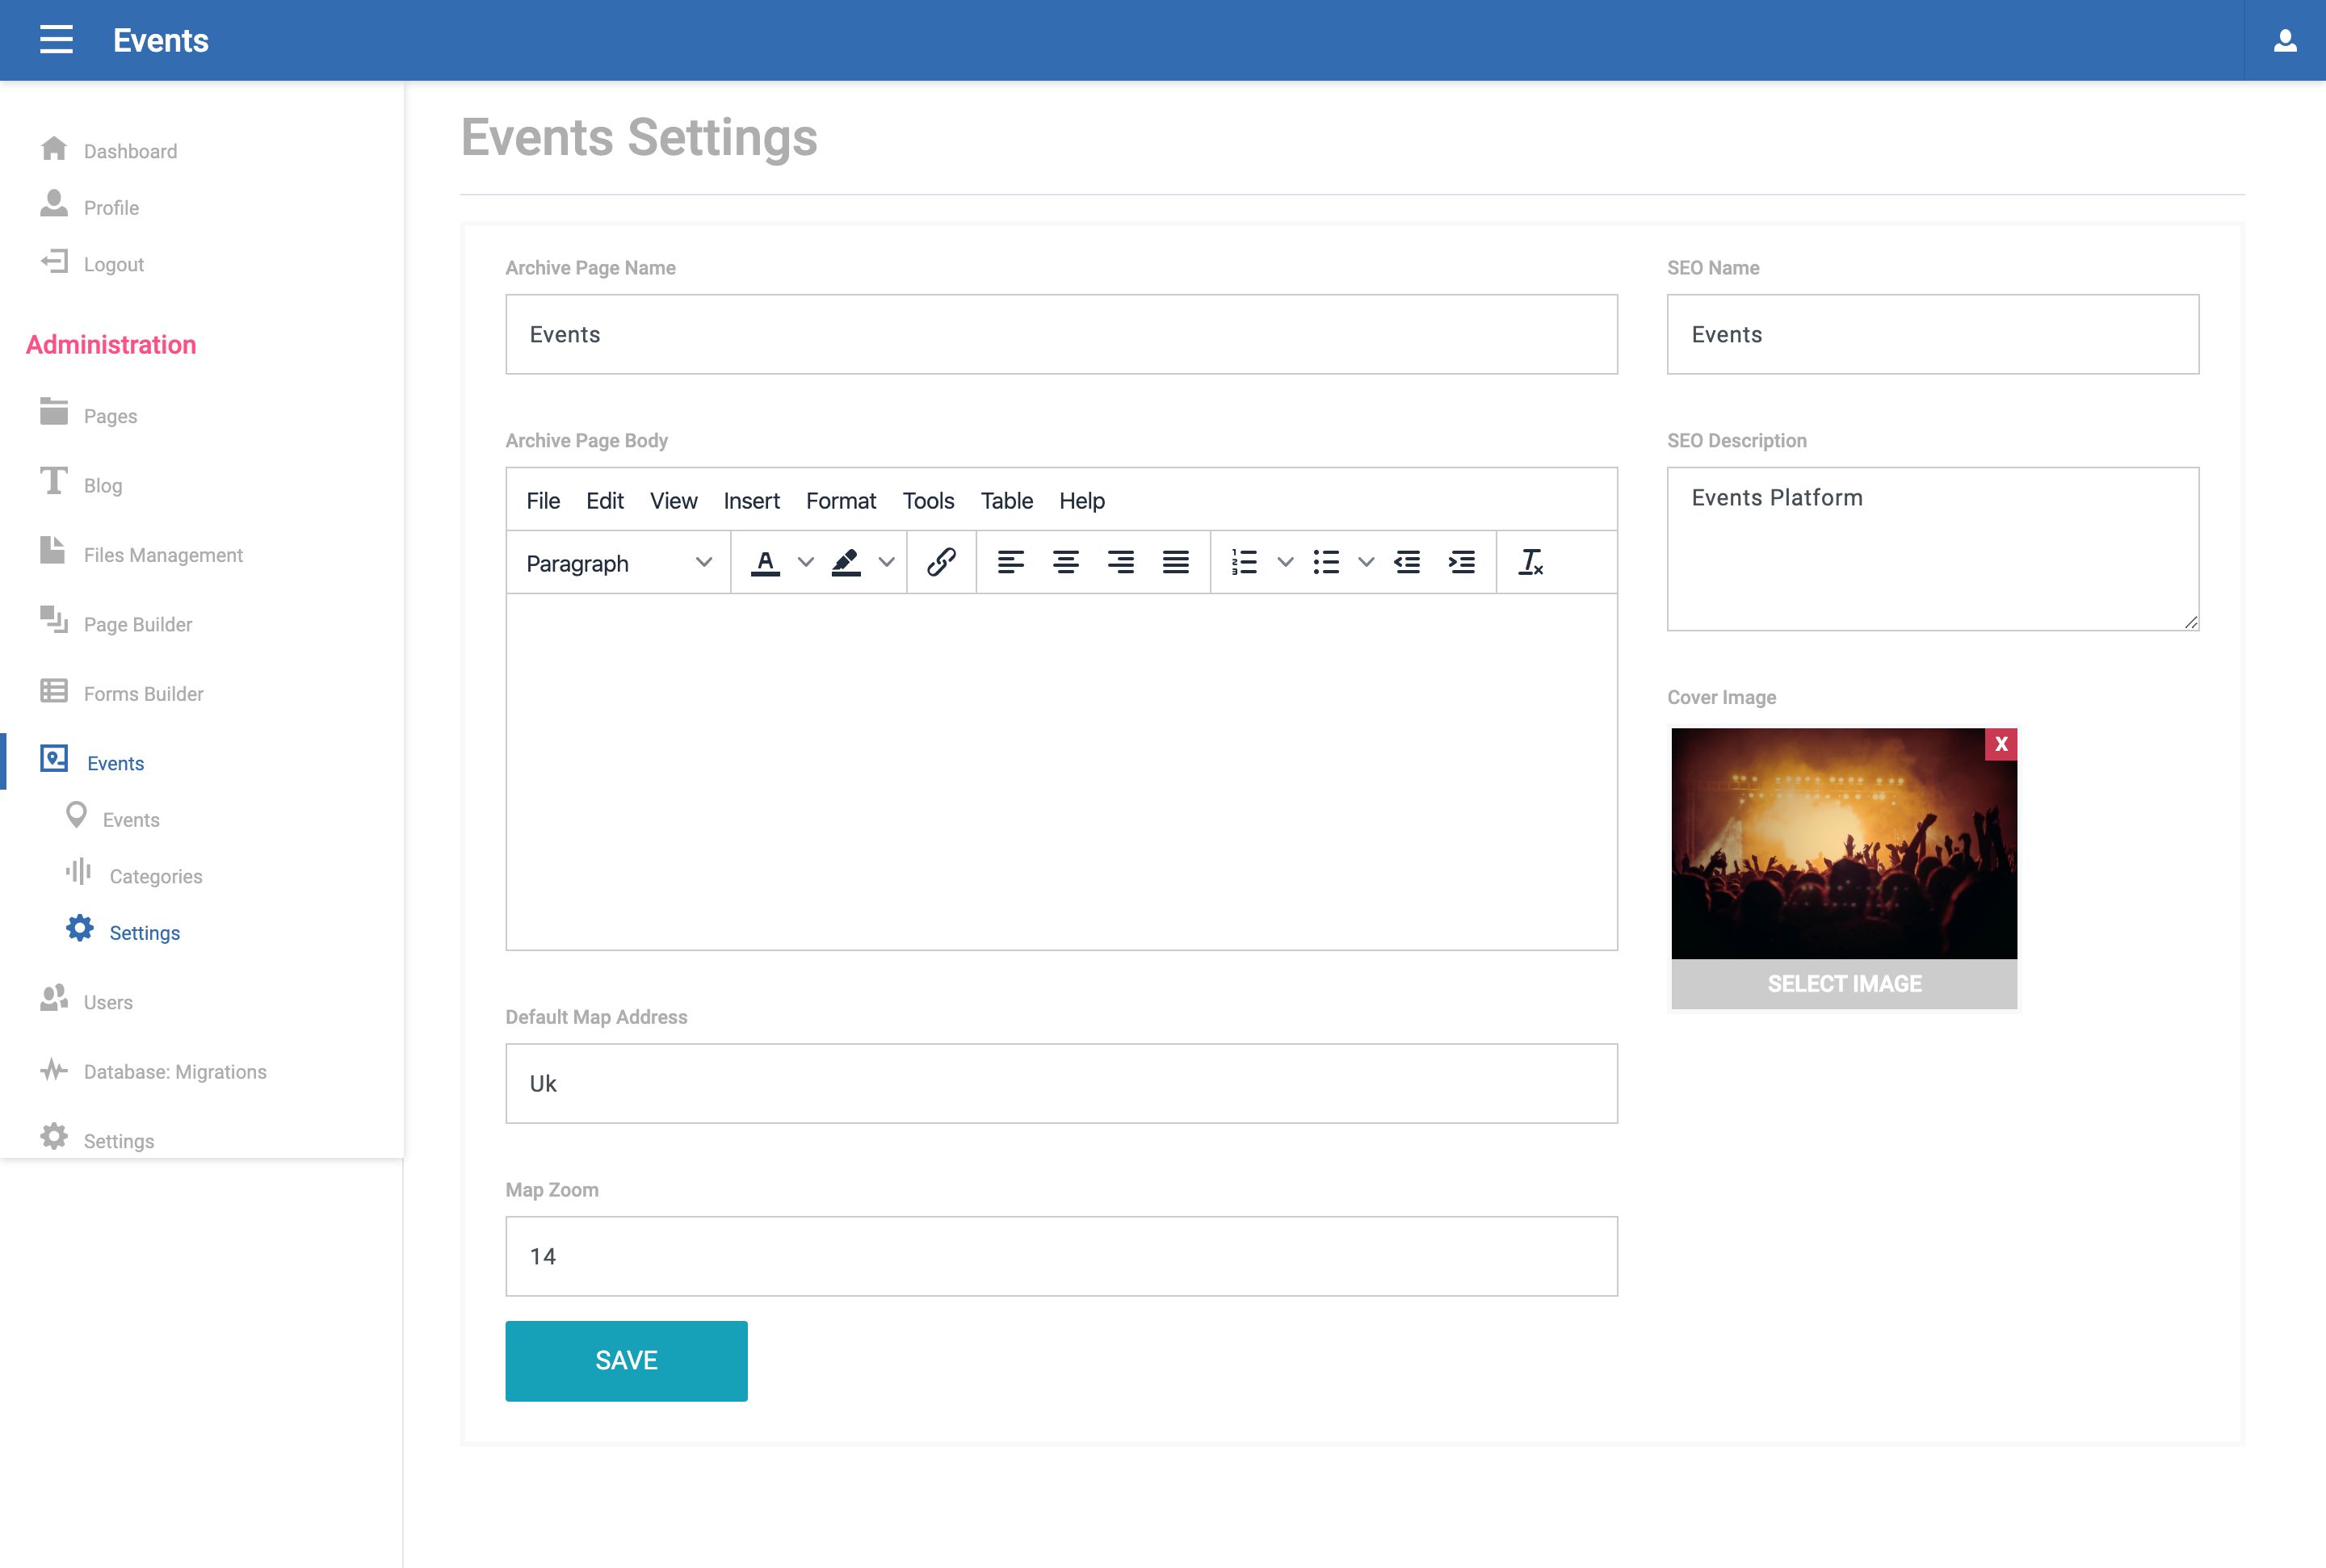
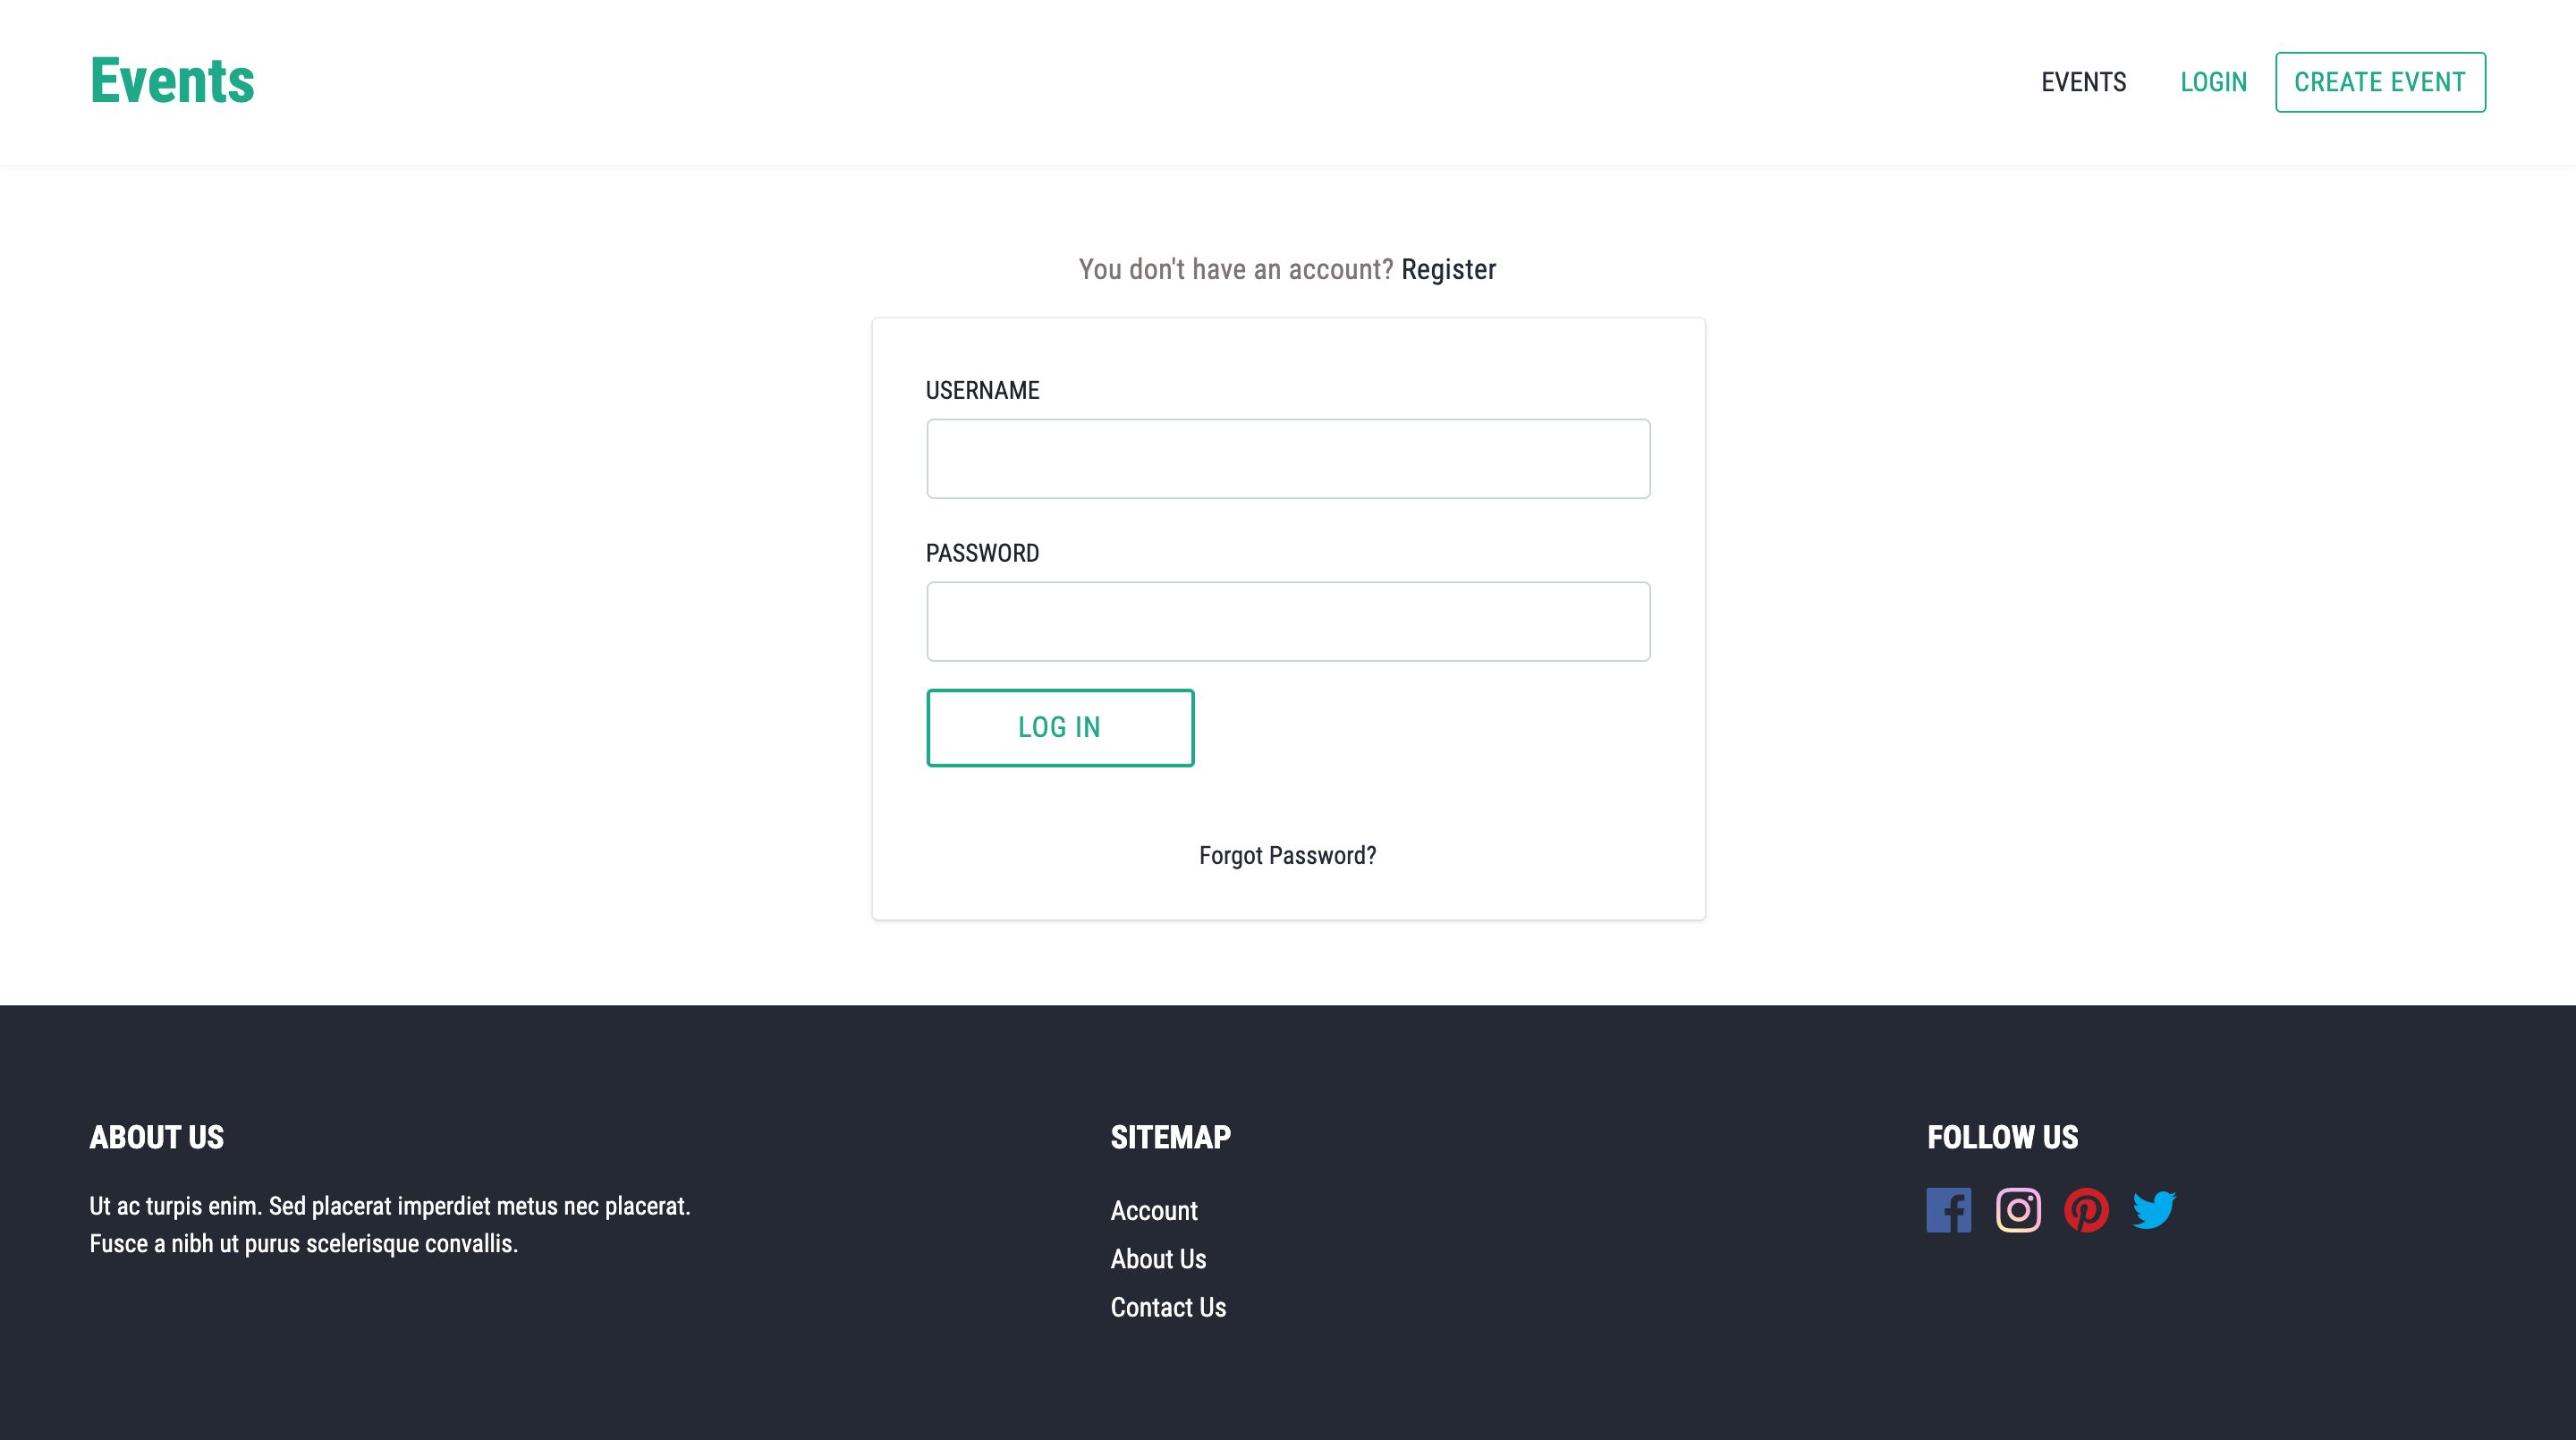
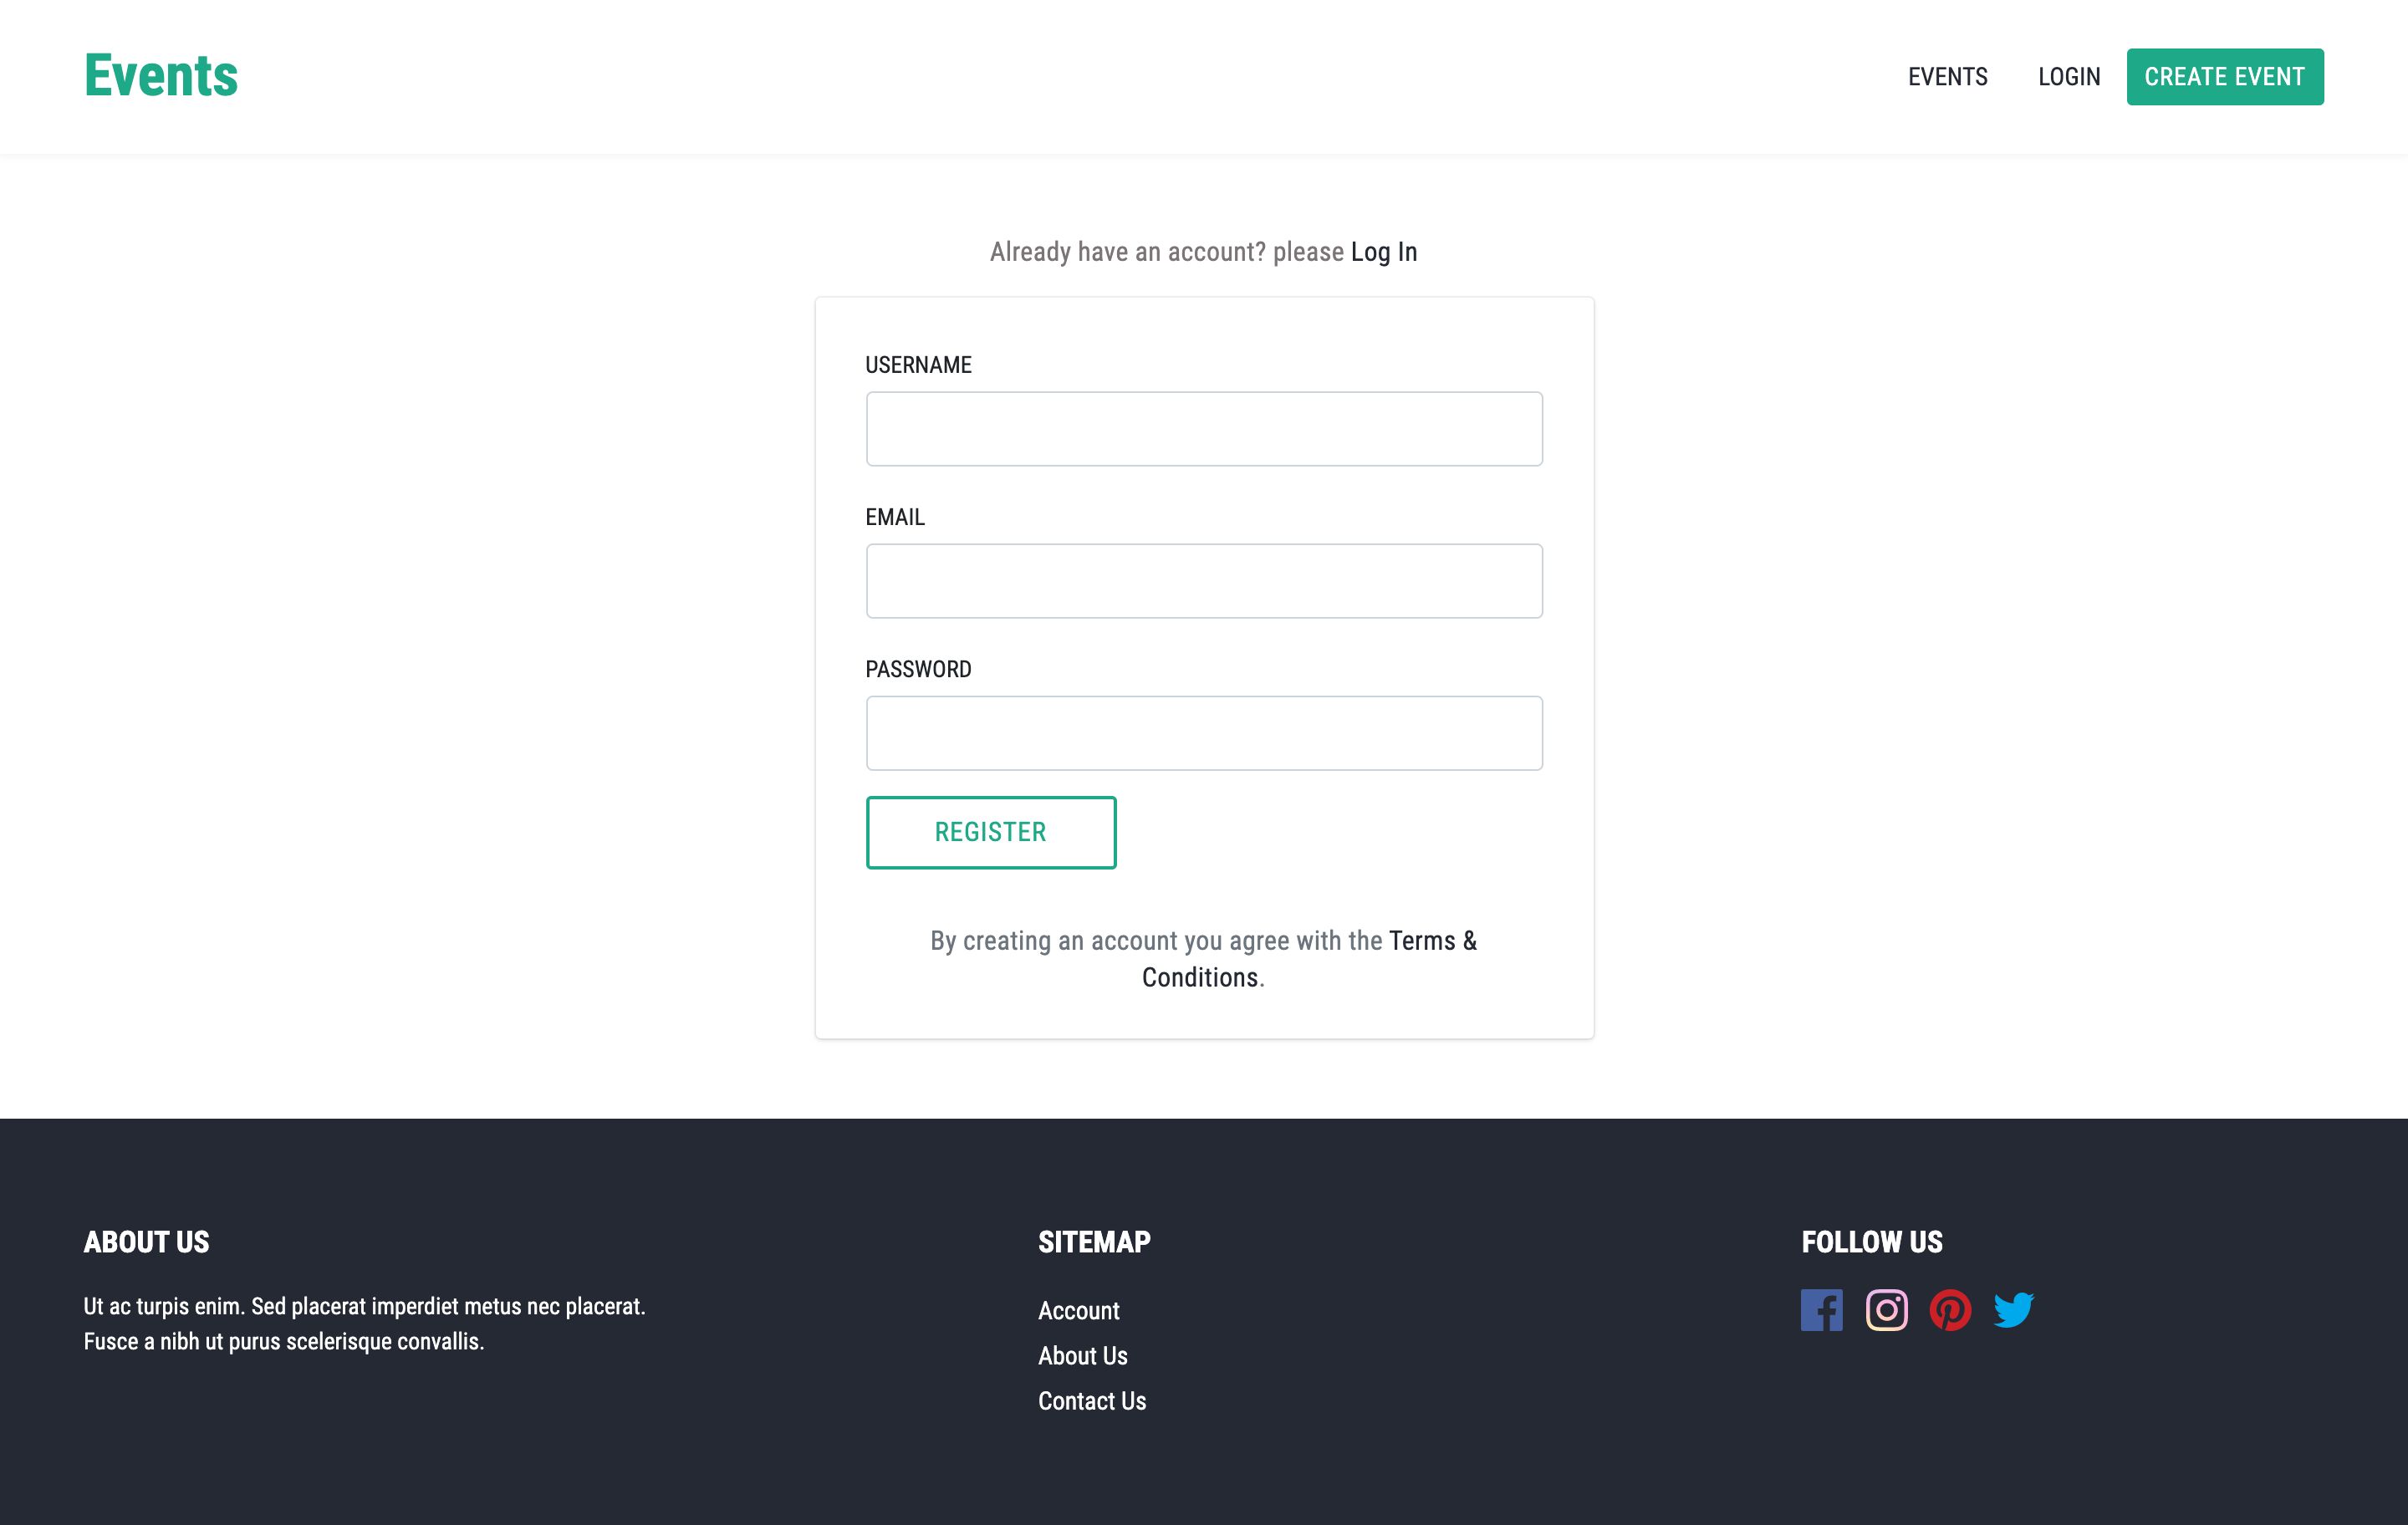
- Easy to use Admin Dashboard
- Users Management
- Pages Management
- Blog Management
- SMTP integration for your emails
- ... and more
Requirements
WarpKnot CMS - Website CMS With Page Builder
Please download the CMS from https://warpknot.com/
Instructions
“WarpKnot Events Plugin”
1. Installing the Plugin
- Copy the directory named "Events" from the module directory, to the "module" directory from the WarpKnot CMS
- Once the plugin was moved into the new directory, on your recently installed CMS, navigate to the "Database: Migrations" section, on the admin and install your new module.
2. Installing the theme
- Copy the directories "events" and "admin" from the themes directory, to the "themes" directory from the WarpKnot CMS
-
Update your application.php file, that's located into your CMS config directory in order to use the new
theme.
- Example
    '_THEME' => 'events',
    ...
    // Resources : Front
    '_FRONT_JS_RESOURCES'  => [
        '/themes/events/dist/scripts/lib.js',
        '/themes/events/dist/scripts/script.js'
    ],
    '_FRONT_CSS_RESOURCES' => [
        '/themes/events/dist/styles/main.css?v=1.0.0',
    ]
- Example
3. Adding your custom homepage
- Navigate to the Pages section, and click on the Add Page button
- From the template list, select "Homepage"
- Set your page as published, and save it.
- From the Settings section, select your new page and set it as "Front Page"
4. Config
- Add your google API key by editing the config/application.php file.
- Example:
// Google Recaptcha '_RECAPTCHA' => [ 'SITE_KEY' => '', 'SECRET_KEY' => '' ], // Google Maps API '_MAPS_API' => 'YOUR_API_KEY_HERE', .... - Enable the new dashboard widgets by editing the config/settings.php file, that's inside the config directory
- Example:
return [ 'admin_dashboard' => [ 'widgets' => [ 'top' => [ 'User', 'Pages', 'Blog', 'FilesManagement', 'Events' ], 'bottom' => [ 'Events' => [ 'limit' => 10, ], 'User' => [ 'limit' => 10, ], 'Pages' => [ 'limit' => 10 ], 'Blog' => [ 'limit' => 10 ], 'FilesManagement' => [ 'limit' => 10 ] ] ] ], 'user_dashboard' => [ 'widgets' => [ 'top' => [ 'Events' ], 'bottom' => [ 'Events' => [ 'limit' => 10 ] ] ] ], ]; - As you can see, the 'Events' item was added for both, admin and user.
Reviews
-
Jun 25, 2020

Free support
Future product updates
Quality checked by Codester
Lowest price guarantee
Not available
Future product updates
Quality checked by Codester
Lowest price guarantee
Information
| Category | Plugins / Miscellaneous |
| First release | 5 December 2019 |
| Last update | 5 December 2019 |
| Files included | .php, .css, Javascript .js |
| Tags | cms, events, warpknot |